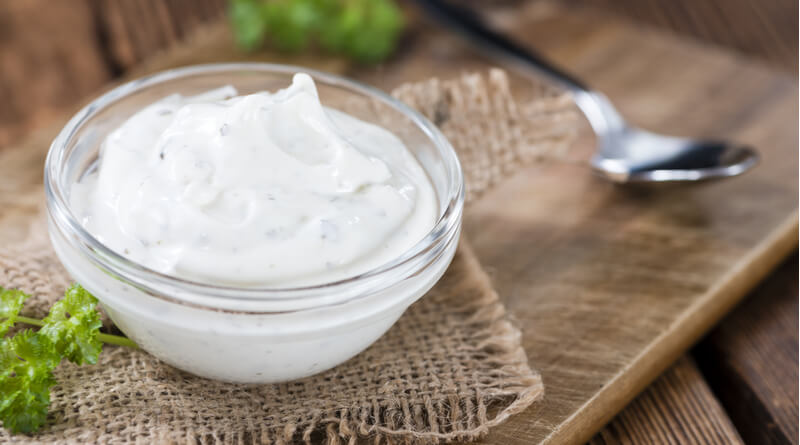
Making sour cream at home is both easy and rewarding. It contains no additives, no fillers or thickeners, and there is no plastic tub to discard. But the best reward: your homemade sour cream contains probiotics and it tastes absolutely delicious! Here are the different steps you can follow –
CHOOSING A CREAM
Choosing the right cream for your needs is important; different creams produce different sour creams with different thicknesses.
- Pasteurized heavy cream or whipping creamgives the thickest yields.
- Half-and-halfwill result in a thinner consistency, but you can thicken it up by adding dry milk powder.
- Raw creamsits somewhere in the middle between half-and-half and pasteurized heavy cream.
- Avoid ultra-pasteurized (UP) or ultra-high temperature (UHT) cream, as it doesn’t yield consistent results when cultured.
SOUR CREAM INGREDIENTS
- 1 packet sour cream starter culture
- 1-4 qts cream of choice
Why Use a Starter Culture?
Using a starter culture is important to make sure that your sour cream has probiotic properties. Not only does that add an extra layer of health benefits to your sour cream, but it also grants it that familiar taste and texture we’ve come to love.
Procedures FOR MAKING SOUR CREAM
- Heat your cream of choice to 145°F and let it stay at that temperature for 45 minutes.
- Let the cream cool to 77° F.
- Add the starter culture and gently stir it until powder completely dissolves.
- Transfer the mixture to a glass jar.
- Cover with a tight-weave cloth or coffee filter and secure it with a rubber band.
- Place the jar in a warm place (74-77°F, or room temperature) to culture for 16-18 hours.
- Place a tight lid on the jar after the sour cream has set, and store in the refrigerator.
- Sour cream will keep in the refrigerator for 2-3 weeks.